WARDOGS · Recon Handbook
- Best: AMR 50 (Recon 35), one headshot through any helmet. Mid-game: SV98 (Recon 19), or MK22 (Recon 25) for 2 body shots on L3.
- Headshots: Mosin, SV98 and MK22 one-shot up to L2 helmets with FMJ, up to L3 with AP (Wardog 82). L4 helmets take 2.
- Zero 100 m, aim center to 200 m. SV98 holdover: 43 cm at 300 m, 85 cm (2.1 mil) at 400 m, 6.4 m (6.4 mil) at 1,000 m.
- Lead about 6 mil on a runner at any range: 0.6 s flight at 500 m, 1.2 s at 1,000 m. Players de-render past 1,000 m.
- Ghillie head + body = no death cam, invisible to IR range finders. Move after every kill. Never buy the Scout Rifle.
Builds
AMR 50
End-game meta
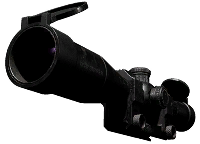 6–10x MRAD/MOAor
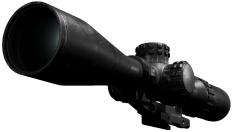 Frontier 2.5–10x
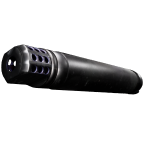 GOL Multi-Cal Supp.or
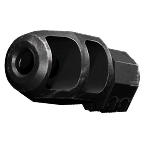 AMR .50 Brake (−20% vert.)
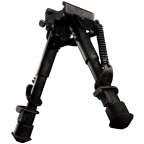 Pro Tilt
Why: one headshot kills through every helmet out to 2,000 m. One body shot kills through L2 armor, two on L3–L4. It weighs 12.5 kg, so you move slowly.
MK22
Armor counter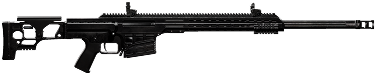
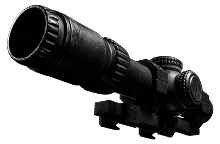 3–6x LPVOorFrontier 2.5–10x
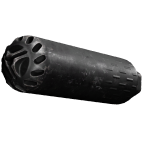 Flow-Through .308 Supp.or
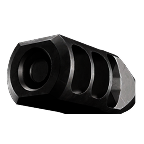 Three Port (−22%)Pro Tilt
Why: 2 body shots through L3 armor (the SV98 needs 3). One headshot through L2 helmets, through L3 with AP.
SV98
Best mid-game 3–6x LPVOor
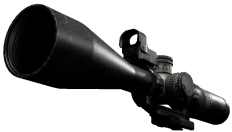 6x Marksman + Reflex
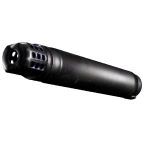 Hexagon 762 Supp.or
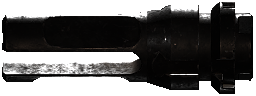 Deadeye Flash Hider
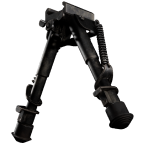 SV98 Bipod (Recon 21)orPro Tilt· skip if you play mobile
Why: one headshot through L2 helmets with FMJ, through L3 with AP (Wardog 82). The wiki lists its zero as 100 m only, so learn the holdover.
Mosin Nagant
Best early 3–6x LPVO (Recon 11)or
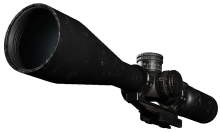 6x PrecisionHexagon 762 Supp.orDeadeye (Recon 9)
Why: same damage as the SV98, but full damage only to 500 m and its zero starts at 200 m. A miss costs a slow bolt cycle.
SVD
Semi-auto · Recon 12 6x Precisionor3–6x LPVODeadeye Flash Hideror
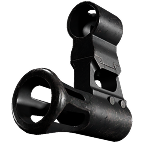 SVD Brake (−18%)
Why: fast follow-ups: 2 body shots on L1, 3 on L2–L3. Take it over the Mosin if you miss more than 1 in 10.
BMR-308
Semi .308 DMR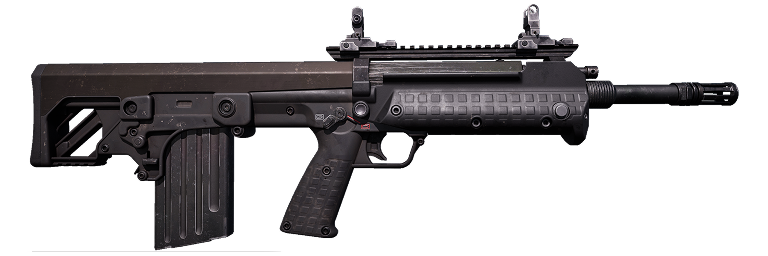
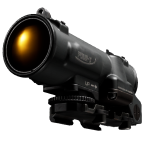 Spectr 4xor
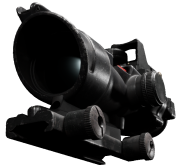 4x Combat Prism + ReflexThree Port (−22%)or
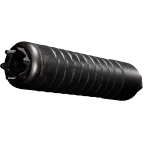 BMR-308 Supp. (Recon 33)
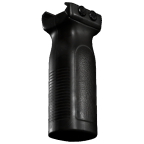 RVG Vertical
Why: 2 body shots through L2 armor at 450 RPM, one headshot through L1. It takes a foregrip, unlike the bolt rifles. No LPVO or 6x scopes.
SKS
Starter / avoid
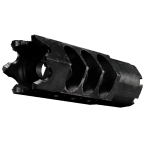 DTK-1 Brake (−20% vert, −10% horiz)+ default 6x
Why: the SKS is fine for Recon 5–9. 2 body shots on no armor, 3 on L1–L2.
Ballistics & zeroing
| Weapon | Zero | 200 m | 300 m | 400 m | 500 m | 600 m | 800 m | 1,000 m |
|---|---|---|---|---|---|---|---|---|
| AMR 50 | 100 m | 12 cm0.6 mil | 36 cm1.2 mil | 73 cm1.8 mil | 121 cm2.4 mil | 182 cm3.0 mil | 339 cm4.2 mil | 545 cm5.5 mil |
| MK22 | 100 m | 12 cm0.6 mil | 37 cm1.2 mil | 74 cm1.8 mil | 123 cm2.5 mil | 184 cm3.1 mil | 344 cm4.3 mil | 552 cm5.5 mil |
| SV98 | 100 m | 14 cm0.7 mil | 43 cm1.4 mil | 85 cm2.1 mil | 142 cm2.8 mil | 214 cm3.6 mil | 399 cm5.0 mil | 641 cm6.4 mil |
| Mosin Nagant | 200 m | center | 20 cm0.7 mil | 52 cm1.3 mil | 98 cm2.0 mil | 157 cm*2.6 mil | 315 cm*3.9 mil | 524 cm*5.2 mil |
| SVD | 100 m | 15 cm0.8 mil | 46 cm1.5 mil | 92 cm2.3 mil | 153 cm3.1 mil | 230 cm3.8 mil | 429 cm5.4 mil | 690 cm*6.9 mil |
| BMR-308 | 100 m | 13 cm0.6 mil | 38 cm1.3 mil | 76 cm1.9 mil | 127 cm2.5 mil | 190 cm*3.2 mil | 355 cm*4.4 mil | 570 cm*5.7 mil |
Holdover = how far above the target to aim, in cm and in mil (1 mil = 1 cm per 10 m, the hash marks on MRAD scopes). Lead = how far ahead to aim at a target running 5 m/s (an assumed sprint speed, WARDOGS does not publish one). Calculated from muzzle velocity (g = 9.81, no drag inside the full-damage range). Check it in the firing range: patches change velocities.
Players de-render past 1,000 m. Beyond that, only the AMR on static targets makes sense. The Mosin row is sighted in at 200 m, its lowest zero.
Zeroing rules
- Sight in at 100 m and aim center chest out to 200 m. The round lands a hand-width low at 200 m, which is still chest.
- Between steps (for example 160 m): keep the lower zero and aim at the top of the head. A low miss still hits neck or chest. Dialing up to 200 m and aiming low sends the round over the head.
- Long shots: PgUp/PgDn dial the zero in 100 m steps, then aim dead center. If you don't want to dial, use the holdover table.
- Past the full-damage range the round loses speed as well as damage, so it drops more than the table says (marked *).
Holdover at 100 m zero
- 0–200 m: center
- 400 m: 1st–2nd hash below center
- 1,000 m: where the line becomes the thick bottom bar
Zero per rifle + optic
| Weapon | Weapon zero | Optic | Optic zero | You can dial |
|---|---|---|---|---|
| AMR 50 | 100–300 m | 6–10x MRAD | 100–1000 m | 100–300 m |
| MK22 | 100–300 m | 3–6x LPVO | 100–600 m | 100–300 m |
| SV98 | 100 m only | 3–6x LPVO | 100–600 m | 100 m |
| Mosin Nagant | 200–800 m | 3–6x LPVO | 100–600 m | 200–600 m |
| SVD | 100–1100 m | 6x Precision | 100–600 m | 100–600 m |
| BMR-308 | 100–300 m | Spectr 4x | 100–400 m | 100–300 m |
You can only dial where the rifle's range and the optic's range overlap. The SV98 does not dial at all: hold over.
Leading moving targets
| Weapon | 100 m | 200 m | 300 m | 500 m | 800 m | 1,000 m |
|---|---|---|---|---|---|---|
| AMR 50 | 0.11 s0.6 m lead | 0.22 s1.1 m lead | 0.33 s1.7 m lead | 0.56 s2.8 m lead | 0.89 s4.4 m lead | 1.11 s5.6 m lead |
| MK22 | 0.11 s0.6 m lead | 0.22 s1.1 m lead | 0.34 s1.7 m lead | 0.56 s2.8 m lead | 0.89 s4.5 m lead | 1.12 s5.6 m lead |
| SV98 | 0.12 s0.6 m lead | 0.24 s1.2 m lead | 0.36 s1.8 m lead | 0.60 s3.0 m lead | 0.96 s4.8 m lead | 1.20 s6.0 m lead |
| Mosin Nagant | 0.12 s0.6 m lead | 0.23 s1.2 m lead | 0.35 s1.7 m lead | 0.58 s2.9 m lead | 0.92 s4.6 m lead | 1.16 s5.8 m lead |
| SVD | 0.12 s0.6 m lead | 0.25 s1.2 m lead | 0.38 s1.9 m lead | 0.62 s3.1 m lead | 1.00 s5.0 m lead | 1.25 s6.2 m lead |
| BMR-308 | 0.11 s0.6 m lead | 0.23 s1.1 m lead | 0.34 s1.7 m lead | 0.57 s2.8 m lead | 0.91 s4.5 m lead | 1.14 s5.7 m lead |
Leading moving targets
- Lead in mil stays the same at every range inside the full-damage range: target speed ÷ bullet speed × 1000. A 5 m/s runner needs about 6 mil with an 830–900 m/s rifle and about 13 mil with a 380–400 m/s SMG.
- Players stop about every 10 s to scope in or check the map. Shoot then, and you don't need to lead at all.
- Running straight at you or away from you: no lead, aim for the drop only.
Kit
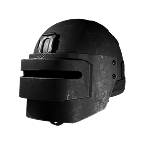
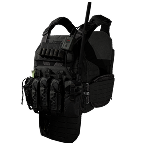
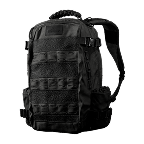
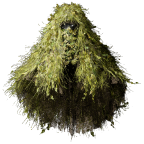
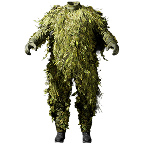
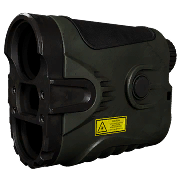
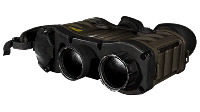
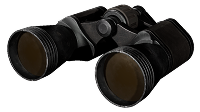
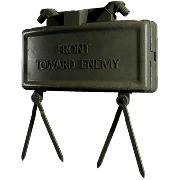
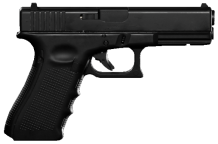
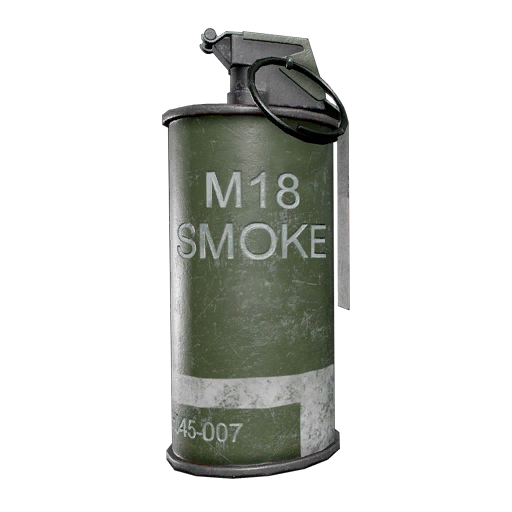
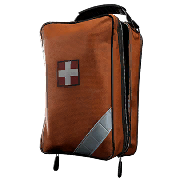
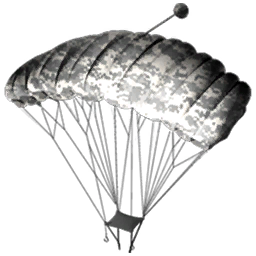
This kit weighs about 25 kg, which puts you in Medium.
Armor & helmets
| Tier | Armor | Helmet | Blocks (FMJ) |
|---|---|---|---|
 L1 L1 | $400 · 3 kg | $200 | 30% |
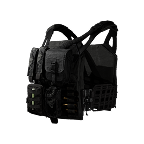 L2 L2 | $1,000 · 4.5 kg | $500 · 1.6 kg | 40% |
| L3 | $2,000 · 10.5 kg | $1,500 · 3 kg | 55% |
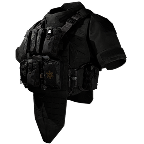 L4 L4 | $4,000 · 18 kg | $3,000 · 4.5 kg | 65% |
Skip the L2 helmet: it only saves you a shot against 2 of 28 guns (BMR-308, M1911). Go L1 straight to L3. Armor unlocks: L2 Wardog 30, L3 Wardog 60, L4 Wardog 100.
Weight classes
| Kit weight | Class | Move speed | Notes |
|---|---|---|---|
| under 10 kg | — | full | |
| 10–17 kg | Light | −5% | |
| 17–27 kg | Medium | −13% | slower ADS, less stamina regen |
| 27–40 kg | Heavy | −20% | no tactical sprint |
| 40 kg + | Super Heavy | −20% | no sprint, slowed |
Source: WarDogs.News weight-class table. Other guides give −12% / −19%. An Adrenaline Pen drops you one class for a short time.
Ammo
| Caliber | Ammo | No armour | L1 | L2 | L3 | L4 | Unlock |
|---|---|---|---|---|---|---|---|
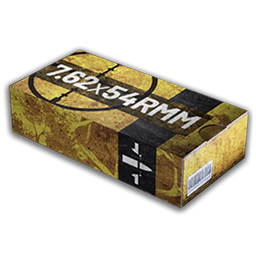 7.62×54R (Mosin, SV98) 7.62×54R (Mosin, SV98) | FMJ | 108.92 (1 shots) | 76.24 (2) | 65.35 (2) | 49.02 (3) | 38.13 (3) | default |
| HP | 217.82 (1 shots) | 32.36 (4) | 23.54 (5) | 10.31 (10) | 1.48 (68) | Wardog 28 | |
| AP | 87.14 (2 shots) | 74.07 (2) | 69.71 (2) | 63.18 (2) | 58.83 (2) | Wardog 82 | |
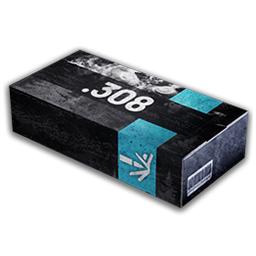 .308 (MK22) .308 (MK22) | FMJ | 118.82 (1 shots) | 83.17 (2) | 71.3 (2) | 53.48 (2) | 41.6 (3) | default |
| HP | 237.62 (1 shots) | 35.3 (3) | 25.68 (4) | 11.24 (9) | 1.62 (62) | Wardog 65 | |
| AP | 95.05 (2 shots) | 80.8 (2) | 76.05 (2) | 68.92 (2) | 64.17 (2) | Wardog 140 | |
| 7.62×54R (SVD) | FMJ | 78.67 (2 shots) | 55.07 (2) | 47.21 (3) | 35.41 (3) | 27.54 (4) | default |
| HP | 157.32 (1 shots) | 23.38 (5) | 17 (6) | 7.45 (14) | 1.08 (93) | Wardog 28 | |
| AP | 62.93 (2 shots) | 53.5 (2) | 50.35 (2) | 45.64 (3) | 42.49 (3) | Wardog 82 |
Chest damage per hit, with shots to kill in brackets. EVA data-mine.
Headshots to kill
| Rifle | Ammo | None | L1 | L2 | L3 | L4 |
|---|---|---|---|---|---|---|
| AMR 50 | FMJ | 1 | 1 | 1 | 1 | 1 |
| MK22 | FMJ | 1 | 1 | 1 | 2 | 2 |
| MK22 | AP | 1 | 1 | 1 | 1 | 2 |
| Mosin / SV98 | FMJ | 1 | 1 | 1 | 2 | 3 |
| Mosin / SV98 | AP | 1 | 1 | 1 | 1 | 2 |
| SVD | FMJ | 1 | 2 | 2 | 2 | 3 |
| BMR-308 | FMJ | 1 | 1 | 2 | 2 | 3 |
Which ammo
- FMJ is the default. Armor blocks 30 / 40 / 55 / 65% of it at L1 / L2 / L3 / L4.
- HP does 2× to flesh, but armor blocks 85–99% of it. Only use it on players with no armor, or aim for arms and legs.
- AP does 20% less to flesh, but armor only blocks 10–20%. It wins against L3–L4 armor and helmets.
- Headshots do about 2.1×. L3 and L4 helmets also cover the neck. L4 armor also covers the upper arms and pelvis.
- HP and AP rounds unlock on the Wardog (career) track. The vendor sells the tracer versions.
Arms and legs (no armor there)
| Caliber | FMJ | HP | AP |
|---|---|---|---|
| 7.62×54R (Mosin, SV98) | 39.6 | 79.2 | 31.7 |
| .308 (MK22) | 43.2 | 86.4 | 34.6 |
| 7.62×54R (SVD) | 33 | 66 | 26.4 |
HP to the legs: a Mosin or SV98 kills in 2.
Field rules
Positioning
- No towers or peaks. The skyline silhouettes you.
- Mid-ground near your team's push, with solid cover behind you, so teammates can revive you.
- Move after every kill, and after any miss the target noticed.
- Build a recon tent to hide from IR scopes. Block stairs and ladders with sandbags or hedgehogs.
Engagement
- Patience. Players stop about every 10 s to scope or check the map. Shoot then.
- Range it first with the range finder, then dial or hold over.
- Lead about 6 mil on a runner, at any range.
Death camera
| Body-shot kill | camera zooms onto you |
| Headshot kill | camera turns toward your general direction |
| Ghillie suit worn | no death cam |
Recon XP
| Action | XP | Cash |
|---|---|---|
| Sniper, DMR or bow kill | 250 | $2,750 |
| Headshot kill (recon weapon) | 275 | $3,000 |
| Spot a target | 5–100 | $50–1,000 |
| Spotted target destroyed | 25–500 | $200–10,000 |
EVA. Spotting pay scales from an AT mine up to a Havoc, structures included.
Pre-match checklist
- Zero set to 100 m (Mosin: 200 m)
- Ghillie head + body on
- Range finder
- 2 smokes · heals · parachute
- Sidearm loaded
Progression ladder
| Level | Unlock | Cost | Why |
|---|---|---|---|
| 1–4 | Binoculars + pistol | $75 | spot for XP and cash. Skip the Scout Rifle. |
| 5 | SKS | $25,000 | first marksman rifle |
| 6 | DTK-1 Brake | $7,500 | SKS recoil |
| 8 | Range Finder | $15,000 | exact distance |
| 10 | Mosin Nagant | $50,000 | 1-shot heads to L2 |
| 11 | 3–6x LPVO | $15,000 | the optic for most rifles |
| 12 | SVD | $50,000 | if you miss a lot |
| 15 | Hexagon 762 Supp. | $15,000 | stealth |
| 19 | SV98 | $100,000 | best mid-game |
| 24 | Ghillie head + body | $140,000 | no death cam |
| 25 | MK22 | $150,000 | armor counter |
| 30 | BMR-308 | $125,000 | semi .308 |
| 35 | AMR 50 | $200,000 | end-game |
| 46 | Pro Tilt Bipod | $50,000 | best bipod |
Unlocked by other roles: 7.62×54R AP ammo: Wardog 82 · L4 helmet: Wardog 100 · Orpheus Max Brake (SVD, Mosin, SV98): Support 45