WARDOGS · Support Handbook
- Job: build a FOB around drills. A running drill pulls the scoring Hot Zone onto your fortified base.
- Gun: PKM (Support 30): the FAL's 0.10 s TTK, 2 chest shots on no armor, full damage to 1,000 m. Before that, M249 (15) or M500 (10). Only LMG and shotgun kills pay Support XP.
- Never hold Mouse 1 to build. Hold 0.55 s, release 0.065 s on the spark: 50–80% faster, 10 XP + $50 per hit.
- Zero 100 m (M249 starts at 200 m). PKM holdover: 43 cm at 300 m, 86 cm at 400 m. RPG: dial the zero to the range.
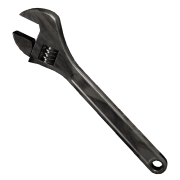
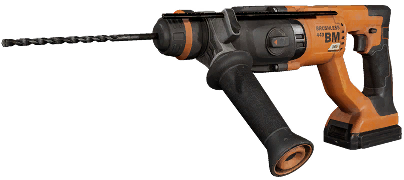
- Kit: Large Hammer · Ruck or Gunner pack · RPG-7 · L3 helmet + armor. Each pallet you deposit = 360 XP + $1,800.
Builds
PKM
Best overall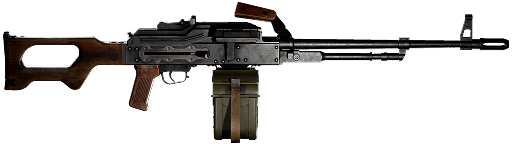
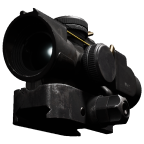 Tricon 1.5xor
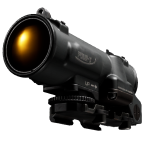 Spectr 4x
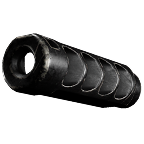 Orpheus Max (−26% vert.)or
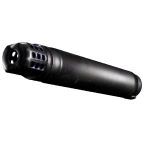 Hexagon 762 Supp.
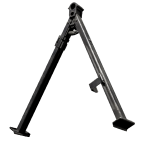 PKM Bipod (Support 33)
Why: 2 chest shots on no armor, 3 on L1–L2, 4 on L3, with the FAL's 0.10 s TTK and full damage to 1,000 m. EVA marks its 650 RPM as a placeholder.
M249 SAW
Early–mid LMG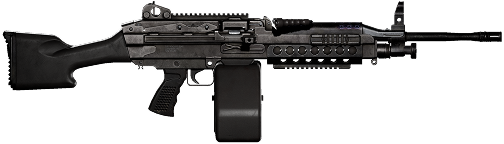 Tricon 1.5xorSpectr 4x
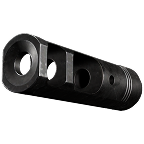 TopCompor
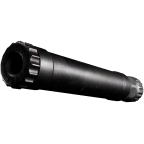 AR Multi-Cal Supp.
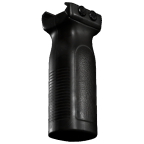 RVG Vertical
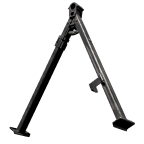 M249 Bipod (Support 18)· 200 rnd box at Support 23
Why: 850 RPM. 4 chest shots on no armor, 7 on L3 (rifles need 8). Its zero starts at 200 m.
M500
Base defense CQC
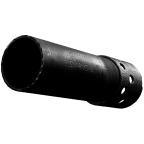 Full Choke (Support 19)tight spread, 1-shot kills to about 40 m
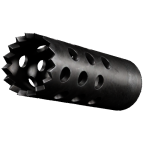 Sabre Brake (−20% vert., Support 11)or
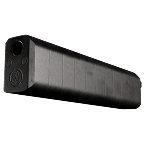 12 ga Supp. (Support 40)
Why: buckshot kills with 1 shot on no armor, 2 on L1–L2, 3 on L3. Effective range is only 70 m.
Launchers (specialist slot)

Ballistics & zeroing
| Weapon | Zero | 200 m | 300 m | 400 m | 500 m | 600 m | 800 m | 1,000 m |
|---|---|---|---|---|---|---|---|---|
| PKM | 100 m | 14 cm0.7 mil | 43 cm1.4 mil | 86 cm2.2 mil | 144 cm2.9 mil | 216 cm3.6 mil | 404 cm5.0 mil | 649 cm6.5 mil |
| M249 SAW | 200 m | center | 18 cm0.6 mil | 47 cm1.2 mil | 88 cm1.8 mil | 141 cm2.3 mil | 281 cm*3.5 mil | 469 cm*4.7 mil |
Holdover = how far above the target to aim, in cm and in mil (1 mil = 1 cm per 10 m, the hash marks on MRAD scopes). Lead = how far ahead to aim at a target running 5 m/s (an assumed sprint speed, WARDOGS does not publish one). Calculated from muzzle velocity (g = 9.81, no drag inside the full-damage range). Check it in the firing range: patches change velocities.
Zeroing rules
- Sight in at 100 m and aim center chest out to 200 m. The round lands a hand-width low at 200 m, which is still chest.
- Between steps (for example 160 m): keep the lower zero and aim at the top of the head. A low miss still hits neck or chest. Dialing up to 200 m and aiming low sends the round over the head.
- Long shots: PgUp/PgDn dial the zero in 100 m steps, then aim dead center. If you don't want to dial, use the holdover table.
- Past the full-damage range the round loses speed as well as damage, so it drops more than the table says (marked *).
Zero per gun + optic
| Weapon | Weapon zero | Optic | Optic zero | You can dial |
|---|---|---|---|---|
| PKM | 100–1500 m | Tricon 1.5x | 100–200 m | 100–200 m |
| PKM | 100–1500 m | Spectr 4x | 100–400 m | 100–400 m |
| M249 SAW | 200–1200 m | Tricon 1.5x | 100–200 m | 200 m |
| M249 SAW | 200–1200 m | Spectr 4x | 100–400 m | 200–400 m |
The M249 row in the holdover table is sighted in at 200 m, its lowest zero. The M500 has no holdover worth learning inside 70 m.
Leading moving targets
| Weapon | 100 m | 200 m | 300 m | 500 m | 800 m | 1,000 m |
|---|---|---|---|---|---|---|
| PKM | 0.12 s0.6 m lead | 0.24 s1.2 m lead | 0.36 s1.8 m lead | 0.61 s3.0 m lead | 0.97 s4.8 m lead | 1.21 s6.1 m lead |
| M249 SAW | 0.11 s0.5 m lead | 0.22 s1.1 m lead | 0.33 s1.6 m lead | 0.55 s2.7 m lead | 0.87 s4.4 m lead | 1.09 s5.5 m lead |
Leading moving targets
- Lead in mil stays the same at every range inside the full-damage range: target speed ÷ bullet speed × 1000. A 5 m/s runner needs about 6 mil with an 830–900 m/s rifle and about 13 mil with a 380–400 m/s SMG.
- Players stop about every 10 s to scope in or check the map. Shoot then, and you don't need to lead at all.
- Running straight at you or away from you: no lead, aim for the drop only.
Rockets: dial the zero, then lead
| Launcher | Speed | Zero | 100 m | 200 m | 300 m | 400 m |
|---|---|---|---|---|---|---|
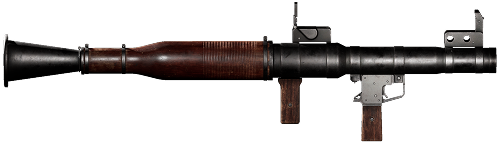
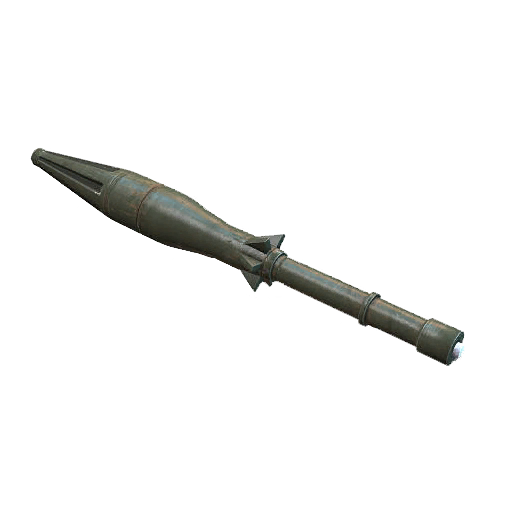
| RPG-7 | 100 m/s | 100–500 m | 1.0 s14 m lead | 2.0 s28 m lead | 3.0 s42 m lead | — |
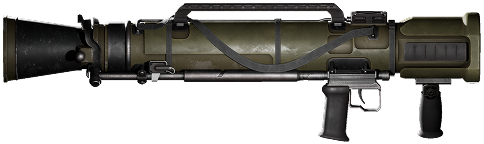
| MAAWS | 230 m/s | 100 m | 0.4 s6 m lead | 0.9 s12 m lead | 1.3 s18 m lead | 1.7 s24 m lead |
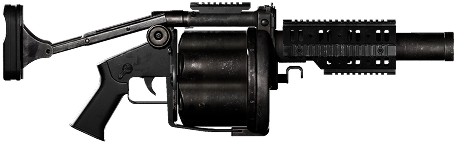
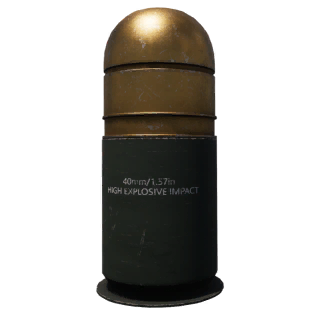
| MGL-40 | 100 m/s | 50–400 m | 1.0 s14 m lead | 2.0 s28 m lead | 3.0 s42 m lead | 4.0 s56 m lead |
Lead shown for a vehicle at 50 km/h. Rockets this slow drop meters past their zero, so dial the zero to the range (RPG-7, MGL-40) instead of holding over.
Kit
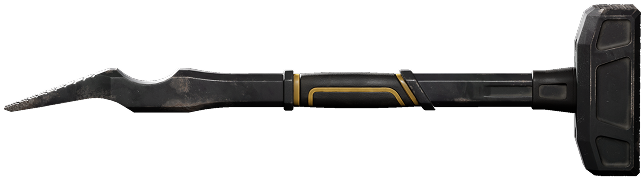
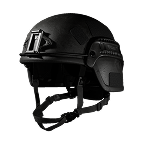
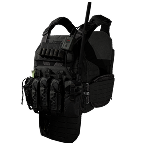
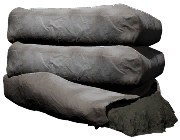
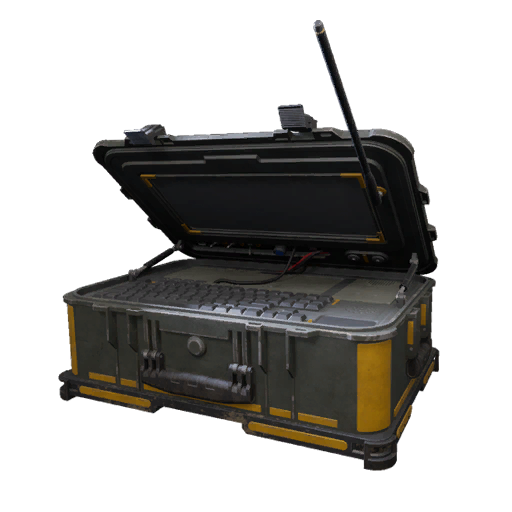
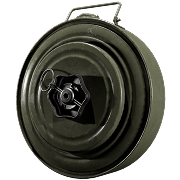
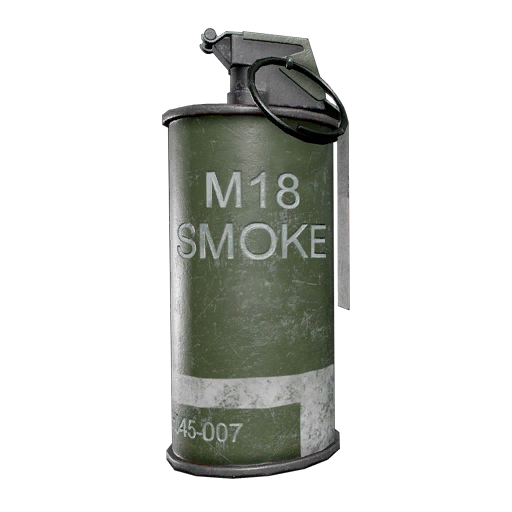
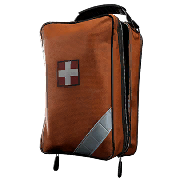
This kit weighs about 33 kg, which puts you in Heavy.
PKM + RPG + L3 armor puts you in Heavy: no tactical sprint. Leave the RPG at the FOB, or wear L2 armor (−6 kg), when you need to move.
Armor & helmets
| Tier | Armor | Helmet | Blocks (FMJ) |
|---|---|---|---|
 L1 L1 | $400 · 3 kg | $200 | 30% |
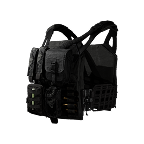 L2 L2 | $1,000 · 4.5 kg | $500 · 1.6 kg | 40% |
| L3 | $2,000 · 10.5 kg | $1,500 · 3 kg | 55% |
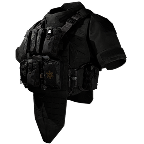 L4 L4 | $4,000 · 18 kg | $3,000 · 4.5 kg | 65% |
Skip the L2 helmet: it only saves you a shot against 2 of 28 guns (BMR-308, M1911). Go L1 straight to L3. Armor unlocks: L2 Wardog 30, L3 Wardog 60, L4 Wardog 100.
Weight classes
| Kit weight | Class | Move speed | Notes |
|---|---|---|---|
| under 10 kg | — | full | |
| 10–17 kg | Light | −5% | |
| 17–27 kg | Medium | −13% | slower ADS, less stamina regen |
| 27–40 kg | Heavy | −20% | no tactical sprint |
| 40 kg + | Super Heavy | −20% | no sprint, slowed |
Source: WarDogs.News weight-class table. Other guides give −12% / −19%. An Adrenaline Pen drops you one class for a short time.
Ammo
| Caliber | Ammo | No armour | L1 | L2 | L3 | L4 | Unlock |
|---|---|---|---|---|---|---|---|
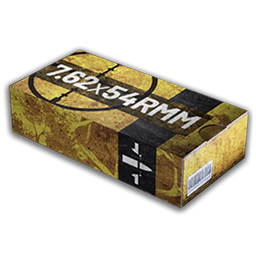 7.62×54R (PKM) 7.62×54R (PKM) | FMJ | 63.54 (2 shots) | 44.48 (3) | 38.13 (3) | 28.61 (4) | 22.25 (5) | default |
| HP | 127.07 (1 shots) | 18.88 (6) | 13.74 (8) | 6.02 (17) | 0.88 (114) | Wardog 28 | |
| AP | 50.84 (2 shots) | 43.21 (3) | 40.67 (3) | 36.86 (3) | 34.32 (3) | Wardog 82 | |
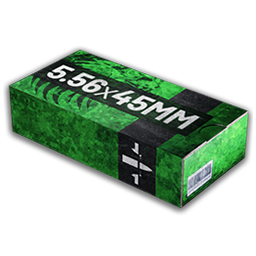 5.56 (M249) 5.56 (M249) | FMJ | 32.36 (4 shots) | 22.66 (5) | 19.42 (6) | 14.57 (7) | 11.34 (9) | default |
| HP | 64.69 (2 shots) | 9.62 (11) | 7 (15) | 3.07 (33) | 0.45 (223) | Wardog 10 | |
| AP | 25.89 (4 shots) | 21.23 (5) | 19.68 (6) | 17.35 (6) | 15.8 (7) | Wardog 83 |
Chest damage per hit, with shots to kill in brackets. EVA data-mine.
Which ammo
- FMJ is the default. Armor blocks 30 / 40 / 55 / 65% of it at L1 / L2 / L3 / L4.
- HP does 2× to flesh, but armor blocks 85–99% of it. Only use it on players with no armor, or aim for arms and legs.
- AP does 20% less to flesh, but armor only blocks 10–20%. It wins against L3–L4 armor and helmets.
- Headshots do about 2.1×. L3 and L4 helmets also cover the neck. L4 armor also covers the upper arms and pelvis.
- HP and AP rounds unlock on the Wardog (career) track. The vendor sells the tracer versions.
Shotgun shells
| Shell | No armour | L1 | L2 | L3 | L4 |
|---|---|---|---|---|---|
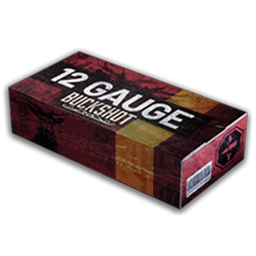 Buckshot (8 pellets) Buckshot (8 pellets) | 198.13 (1) | 83.27 (2) | 71.4 (2) | 46.88 (3) | 31.14 (4) |
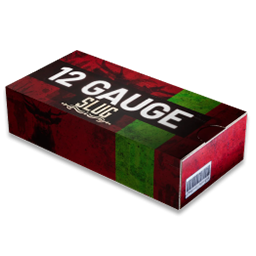 Slug Slug | 103.97 (1) | 63.32 (2) | 54.27 (2) | 40.71 (3) | 31.66 (4) |
Slugs unlock at Wardog 41. Buckshot is 8 pellets, so the numbers assume every pellet hits.
Field rules
Fighting as Support
- Only LMG and shotgun kills pay Support XP (250). Rifle and SMG kills go to Assault and Medic.
- Go prone or mount on cover before you spray: the bipod only works when deployed.
- With a PKM, 2 hits drop an unarmored player at any range to 1,000 m. Tap at range, don't hose.
Fortification tricks
4-high concrete wall (can't be jumped by vehicles)
Place a sandbag wall, snap concrete on top of it, then destroy the sandbag and fill the gap with concrete.
Staggered concrete gate
- A single door dies to 1 C4.
- Place gates 4 lengths deep with concrete side walls.
- Add a small turned concrete block to make a viewing slit. You can shoot sappers through it, but they can't hit you.
Gate repair
- Hammering does not bring back a destroyed door.
- Hit the foundation block under the gate to collapse it, then build a new gate.
Anti-mortar
- Put 3×3 or 3×6 indirect-fire shelters over the APC spawn and the core.
- Repair the ceiling panels from inside during barrages.
- Put hedgehogs on the outer corners. They soak up explosive damage and keep the sandbags and shelters standing longer.
Honeypot trap FOB
- Drive an SUV into the circle. Place a FOB core with 3 radio stations playing music.
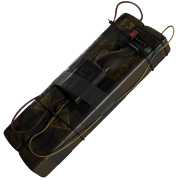
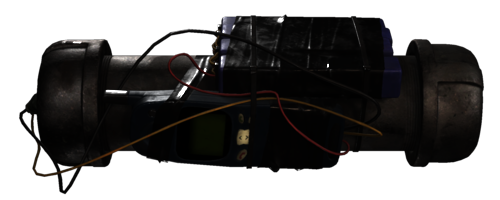
- Put an IED on the back of the FOB and C4 on the buildables around it.
- Walk away and wait for the enemy to capture it.
- When the FOB icon disappears from your minimap, detonate.
Explosives don't chain-react. Only the charge you trigger goes off.
Role: the Builder
How scoring works
- Holding the Control Zone scores victory points every 30 s.
- Players inside the Hot Zone count double.
- Infantry fight for position and Disruptors deny enemy builds. Builders create the late-game advantage.
- Don't chase the roaming Hot Zone across open fields. Pull it onto your base with drills.
Drills
| Drill | Holds Hot Zone | Cooldown |
|---|---|---|
| Tower Drill | 7 min | 15 min, shared |
| Fuel Drill | up to 5 min (depends on fuel) | 20 min, per drill |
| 4× Fuel Drill in one FOB | Rotate activations = Hot Zone stays on your base for good. This is how you close out matches. | |
XP & cash loop
| Action | XP | Cash | Note |
|---|---|---|---|
| Deposit a supply pallet | 360 | $1,800 | takes 10 s at the FOB, feeds build resources |
| LMG or shotgun kill | 250 | $2,750 | cash varies |
| Structure finished | 50 | $100 | bonus at 100% |
| Sale at your supply crate | 50 | sale price | teammates buy from your crate |
| Hammer hit on the yellow X | 10 | $50 | the main grind |
| Activate a drill rig | 500 | $2,500 | pays Assault XP, not Support (EVA) |
EVA. Pallets dropped into a FOB outside the zone pay less (patch 0.1.2). Destroying a half-built buildable pays only for the progress.
54k XP/h power-level
- FOB near your HQ exit for short supply runs: Green → Ozetti · Red → Zestafona · Blue → Bakarani.
- Place a Vanguard SeaWiz (big, easy hitbox) or a SAM site as the hammer target.
- 45° trick: stand 1–2 m away at 45°, then inch forward or back until the yellow X stays fixed on your crosshair.
- Rhythm: hold LMB 0.55 s, release 0.065 s on the spark, and repeat.
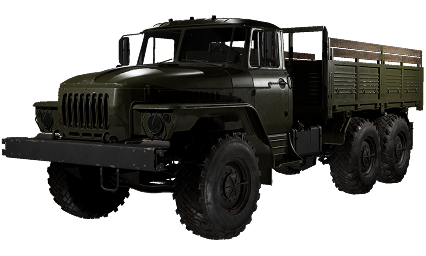
- Duo: one player runs Ural pallets while the other hammers.
Rates
| Solo (drive, unload, hammer) | ~30k XP/h |
| Duo (partner on pallets) | 40k–54k XP/h |
FOB build
- Pick flat ground inside the Control Zone, out of sight of enemy towers.Level ground, so walls and bunkers snap cleanly
- Place the FOB Core at the center and build it.FOB icon shows on the minimap, with 1,250 starting resources
- Unload pallets at the site.+1,800 resources per pallet, and you get 360 XP + $1,800
- APC bunker over the APC spawn. See the next page.APC is covered from mortars, with a 360° walkway around it
- Walls and gates: 4-high concrete perimeter, with gates 4 lengths deep and side slits.No gaps to climb over or drive through
- Drills: 1–4 Fuel Drills (or a Tower Drill) inside the walls. Fuel them, then activate.Yellow Hot Zone marker moves onto your FOB
- Air defense and shelters: SeaWiz or SAM on a raised bunker, plus 3×3 or 3×6 indirect-fire shelters over the core.Clear view of the sky. You can repair the roof from below.
APC bunker
- Foundation: 4 Hesco blocks in a line at the FOB core. Hit and finish them.
- Lower bunker goes on top of the Hesco line.
- Upper bunker: snap a Hesco to the side and hit it once to jump up. Place the second bunker on top and rotate it 90° (doorway on the left).
- Critical: go prone underneath and destroy the lower bunker while the top is still unfinished.
- Finish the top by standing on the corner Hesco and hitting its yellow X.
- Clear the floor of temporary Hesco and sandbags. The roof now floats, the APC parks underneath, and infantry get 360° movement plus a shooting floor above.
Progression ladder
| Level | Unlock | Cost | Why |
|---|---|---|---|
| 1 | 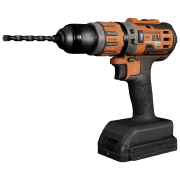 Light Drill Light Drill | $10,000 | vehicle repair |
| 2 | C4 + Remote Detonator | free + $15,000 | demolition |
| 3 | 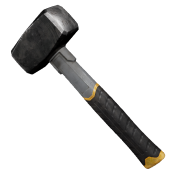 Medium Hammer Medium Hammer | $25,000 | large buildables |
| 5 | RPG-7 | $30,000 | anti-vehicle |
| 8 | Large Hammer | $75,000 | builds everything |
| 10 | M500 | $50,000 | first Support gun |
| 15 | M249 SAW | $100,000 | first LMG |
| 16 | 9K333 Verba | $50,000 | anti-air |
| 19 | Full Choke | $30,000 | M500 range |
| 20 | MAAWS | $125,000 | better AT |
| 25 | AT Mine | $75,000 | vehicle denial |
| 30 | PKM | $150,000 | best LMG |
| 33 | PKM Bipod | $35,000 | |
| 35 | MGL-40 | $200,000 | grenade launcher |
| 45 | Orpheus Max Brake | $40,000 | best vertical brake |
Unlocked by other roles: Hexagon 762 Supp.: Recon 15 · RVG grip: Medic 16 · Ruck Backpack: Wardog 55 · Gunner Backpack: Wardog 73